Step 1: Select any type of dictation
Choose the dictation that suits your preparation from the options available.

Step 2: Click on 'Take Test' Button
Start the test by clicking on the 'Take Test' button next to your selected dictation.

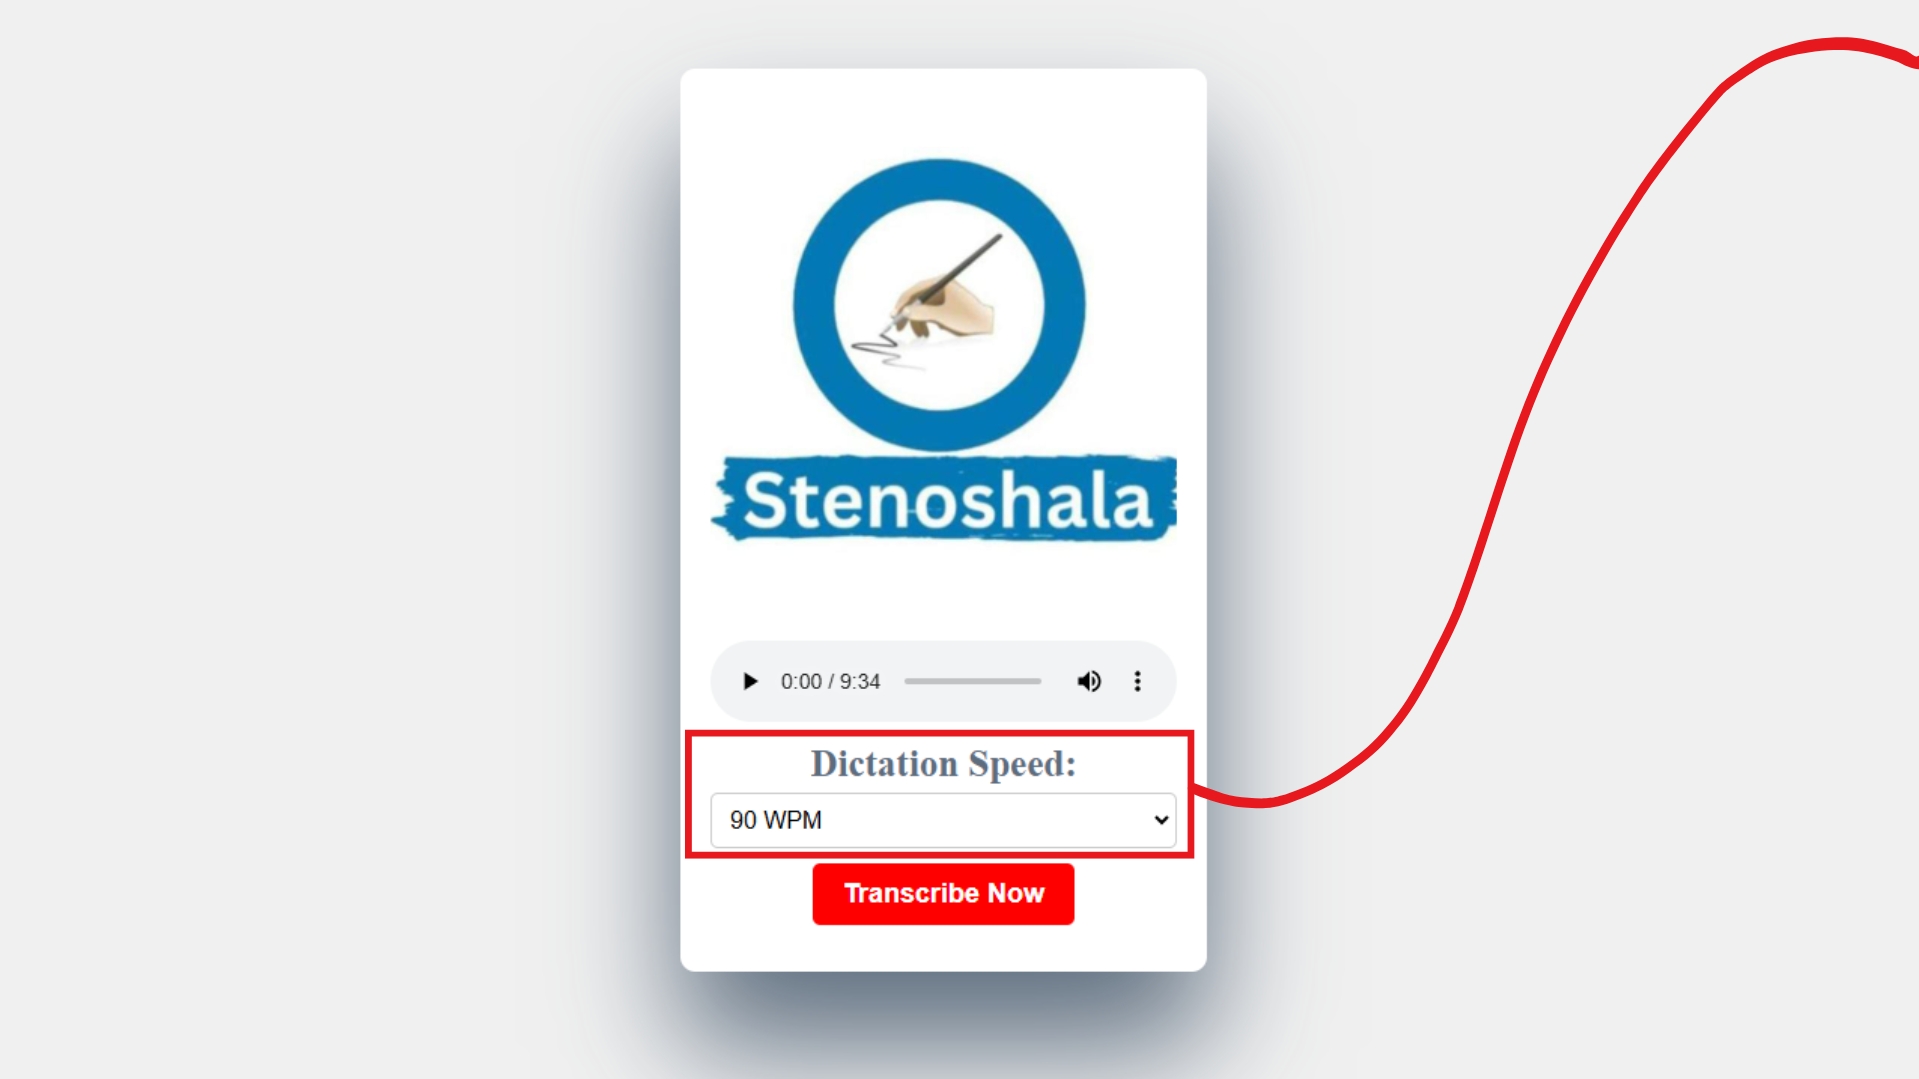
Step 3: Change the Dictation Speed
You can adjust the dictation speed by clicking here. You can listen to dictations from 50 WPM to 160 WPM at any speed. By default, it is set at 90 WPM.

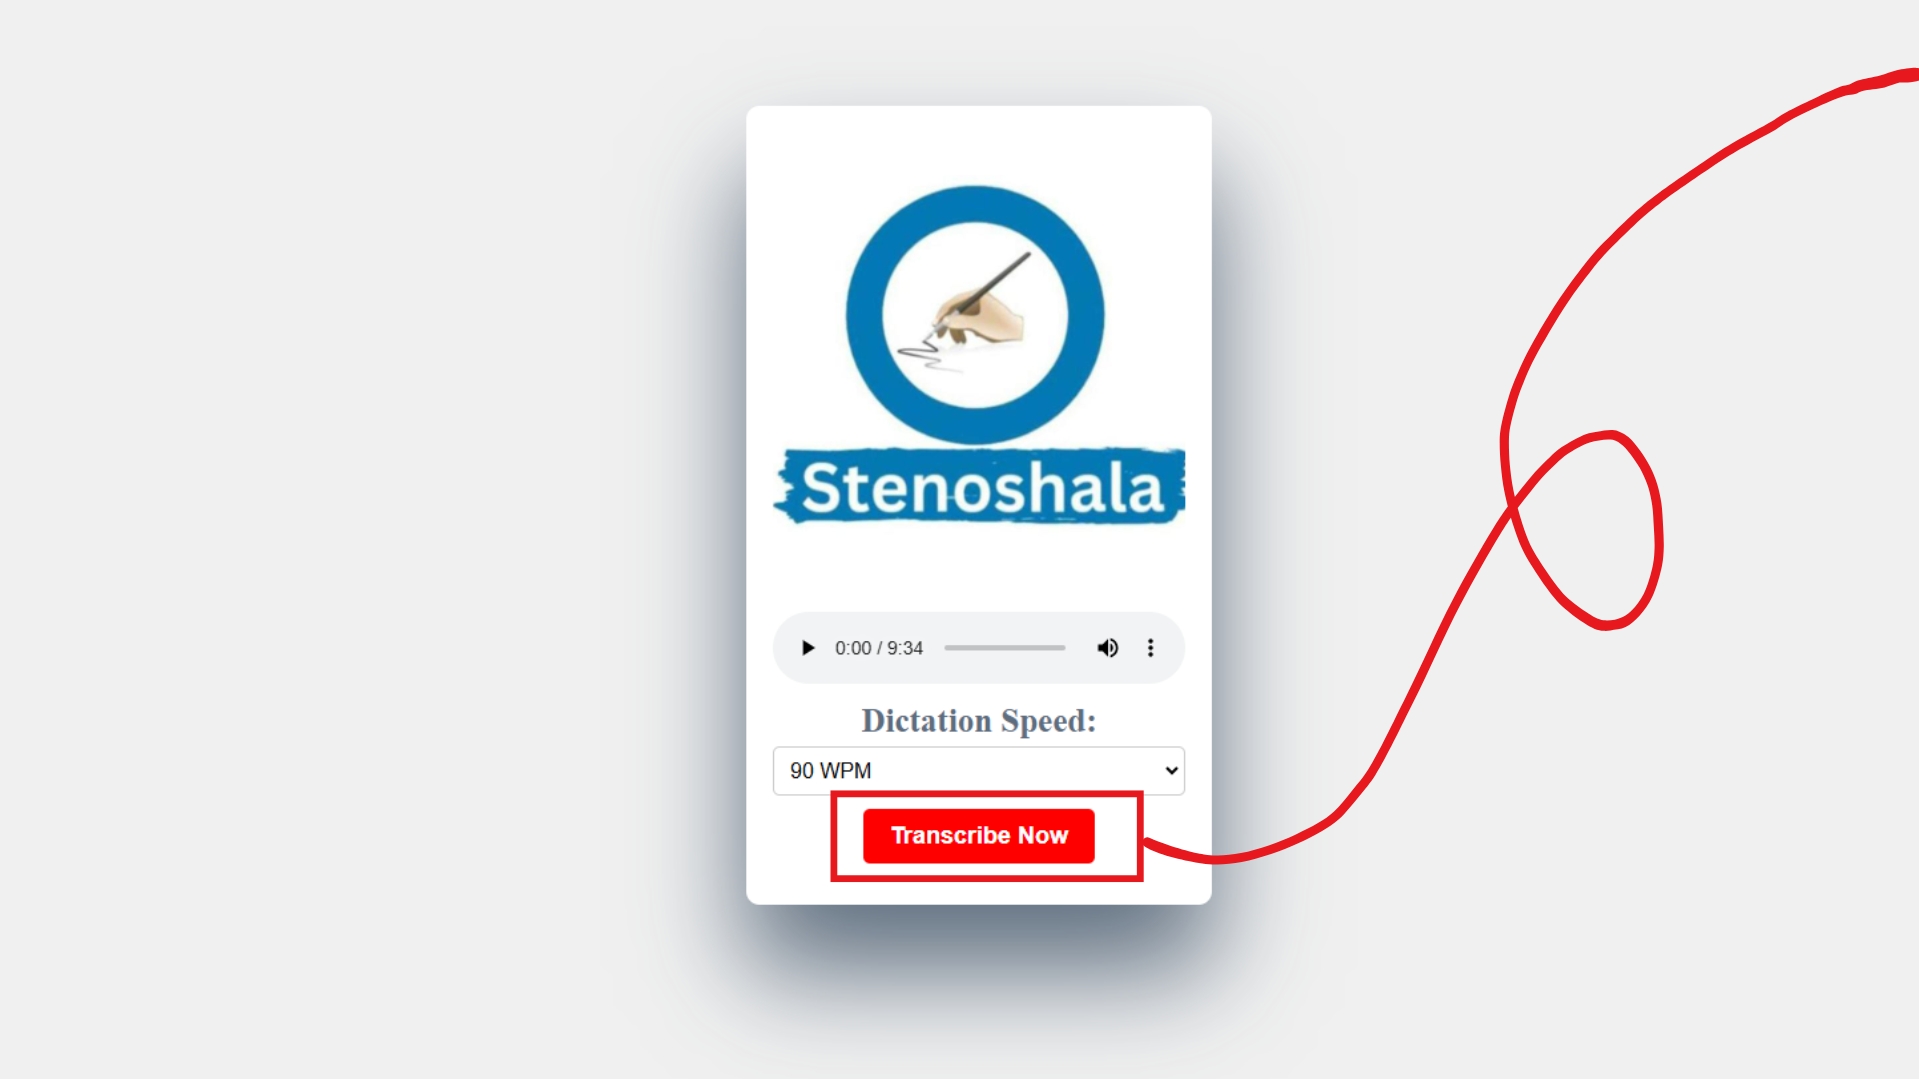
Step 4: Transcribe the Matter
Once the dictation completes, or if you wish to start typing anytime, click on the 'Transcribe Now' button.

Step 5: Adjust Mistake Counting
We have made the software very flexible. You can adjust what types of mistakes you want to be calculated or not, or which mistakes you wish to be counted as half or full. You can adjust everything. You can also disable the backspace here. If you are preparing for a specific exam, select the exam directly from the dropdown available at the bottom. If you select the exam, you do not need to make adjustments in the above portion, as the mistakes will be calculated based on the exam type.

Step 6: For Small Screens
If you are operating on a smaller screen, you can scroll up or down using the scroll bar available in this popup.

Step 7: Save & Continue
Before you start typing, you must click on the 'Save & Continue' button. If you do not, your matter will not be submitted. Click on this button and then start typing your matter.

Step 8: Typing the Matter
Once you click on the 'Save & Continue' button, you can start typing here. The countdown timer will be available at the top right corner of the screen.

Step 9: Completed Typing
Once you complete the typing and wish to submit the matter, you can click on the 'Submit' button, or it will be automatically submitted once the timer ends.

Step 10: Viewing Analysis
You can view a complete analysis of your transcription in this window.

Step 11: Highlighted Mistakes
You can view the type of mistakes highlighted and the colors used for each.

Step 12: Download Result Sheet
You can download your result sheet by clicking on this button. Your result sheets are also saved automatically in your dashboard section whenever you submit a transcription.

Step 13: Viewing Attempted Tests
You can view your attempted tests in the dashboard section.